
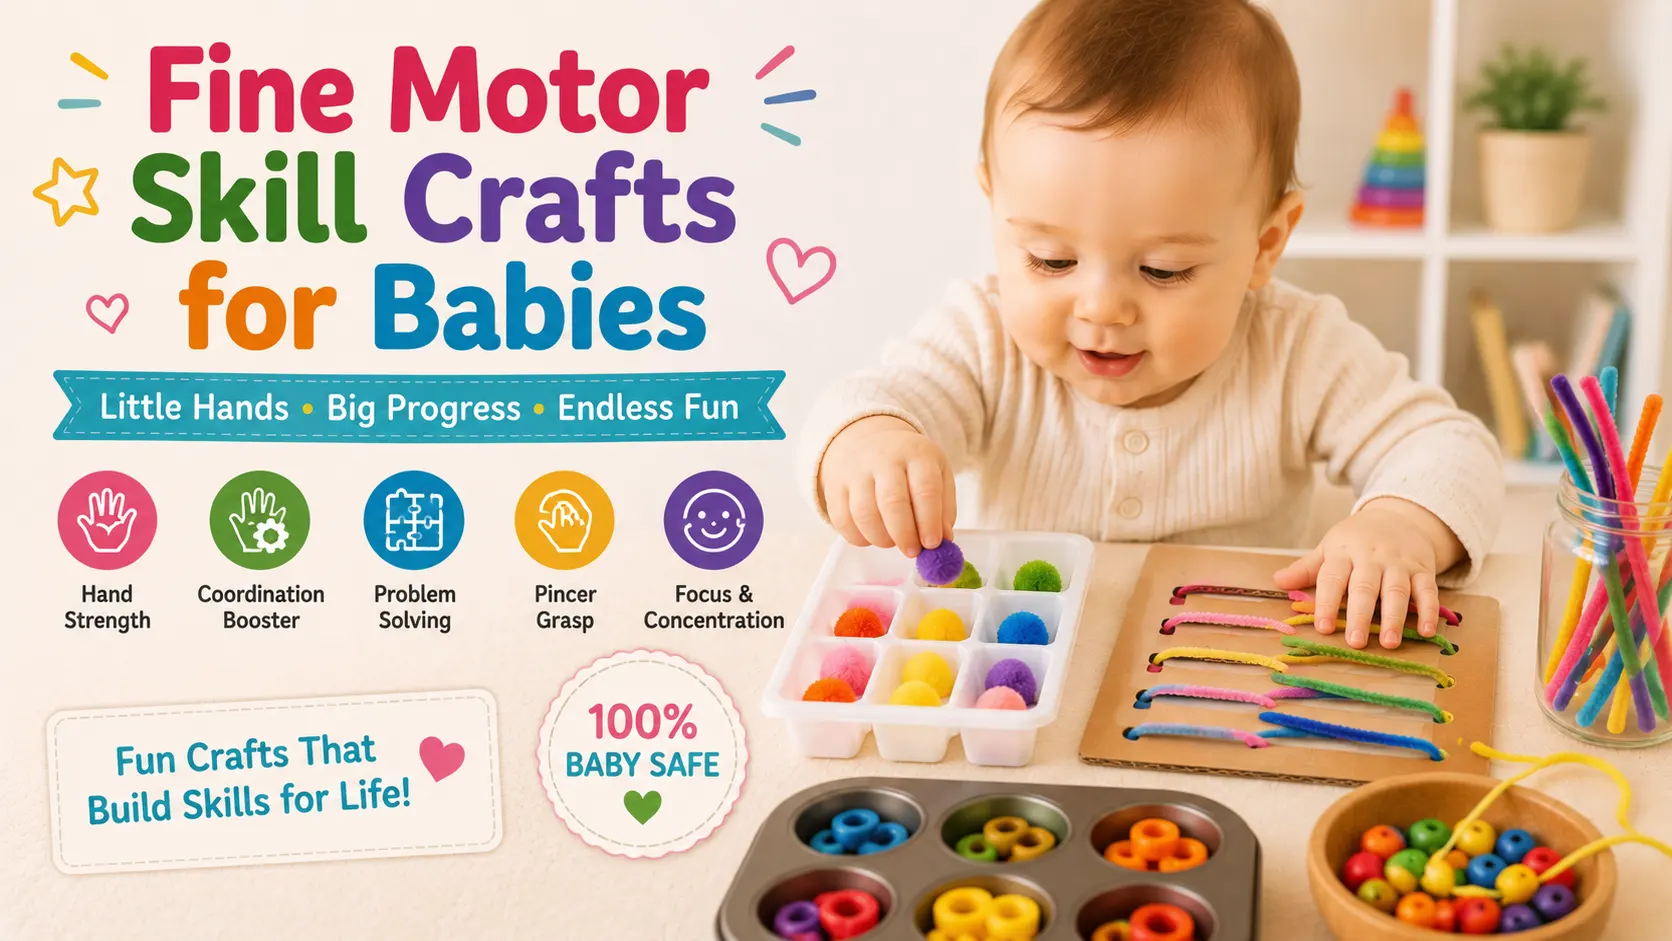

Search “fine motor activities” and most results are beads, tongs, scissors, and buttons — all toddler and preschooler skills that require a pincer grasp and hand control a baby simply doesn’t have yet. A baby’s fine motor development happens in a specific order, and an activity that’s perfect for a 9-month-old can be a choking hazard for a 5-month-old. This guide sorts activities by actual grasp stage, not just “baby” as one broad category, and sticks to materials that pass a real choking-hazard size test.
The Three Grasp Stages Fine Motor Activities Should Match
- Palmar grasp (roughly 4–6 months): baby rakes an object into their whole palm and holds it with all fingers curled around it, no thumb involvement yet. Objects need to be easy to close a whole fist around.
- Raking grasp (roughly 6–9 months): baby drags smaller objects toward themselves with a scooping motion of the fingers, before they can pick them up cleanly. This is the transition stage between whole-hand and precise grasping.
- Pincer grasp (roughly 9–12 months): baby uses thumb and index finger together to pick up small items with intention. This is the grasp that most “fine motor” content assumes a child already has — but it doesn’t fully develop until close to a baby’s first birthday.
Matching activities to the right stage isn’t just about what’s more fun — it’s about what’s actually achievable and what’s actually safe, since an object sized for pincer-grasp practice is often too small to be safe for a baby who’s still in the mouthing-everything palmar stage.
The Choking-Hazard Size Rule for Fine Motor Materials
Before any activity below: if an object can fit entirely inside a toilet paper tube (roughly 1.75 inches / 4.5 cm across), it’s a choking risk for a baby who mouths objects and should not be used in loose, unsupervised, or even lightly-supervised form. This is why pom-poms, small beads, buttons, and dried pasta — all staples of toddler fine motor lists — don’t appear in this guide’s under-12-month activities.
Palmar Grasp Activities (4–6 Months)
1. Ring stacker rings, used loose Large stacking rings are easy to palm-grasp and too big to be a choking hazard, even before your baby understands stacking. Let them hold, mouth, and transfer rings hand to hand.
2. Fabric strip pull Tie several wide (2+ inch) ribbon or fabric strips to a ring or embroidery hoop for your baby to grab and pull — builds whole-hand grip strength with no small parts.
3. Textured ball set A set of large, differently-textured balls (bumpy, smooth, ridged) that are too big to be swallowed lets your baby practice grasping and releasing with varied sensory feedback.
4. Crinkle toy squeeze A large fabric crinkle toy rewards a whole-hand squeeze with sound, reinforcing the palmar grasp-and-release motion.
Raking Grasp Activities (6–9 Months)
5. Large silicone suction toy peeling Silicone suction toys stuck to a highchair tray require baby to rake and pry at the edges to pull them off — good early precision practice without small parts.
6. Big-hole shape sorter (large pieces only) Choose a sorter with pieces too big to be a choking hazard; baby practices raking a piece toward themselves and pushing it (even imprecisely) toward or into an opening.
7. Empty container and large lid Let your baby rake at a large plastic lid resting on top of a container — the transitional grasp needed to eventually remove and replace it is exactly the raking-stage skill being built.
8. Paper ripping (supervised) Tearing paper is a genuine raking-and-pinching precursor activity — use tissue paper or newspaper in large sheets, supervise closely, and remove torn pieces before they become small enough to mouth.
Pincer Grasp Activities (9–12 Months)
9. Puffed cereal or soft banana pieces on a highchair tray Small, soft, dissolvable pieces of food are one of the safest ways to practice a true pincer grasp, since they’re edible and soften quickly even if swallowed without full chewing — check with your pediatrician on timing if you’re introducing finger foods for the first time.
10. Large-holed lacing board A lacing toy with a thick cord and big holes (not the small-bead-and-string version made for older kids) lets a baby practice a pincer grip pulling cord through holes.
11. Drop-and-dump box Cut a slot in a container lid just wide enough for large poker-chip-sized discs (still bigger than the choking-hazard test size) — baby pincer-grasps a disc and posts it through the slot, then dumps the container to start again.
12. Sticker peeling Large stickers on a flat surface require a pincer grip to peel up the edge — supervise closely since stickers themselves can be a choking hazard if mouthed once removed.
13. Board book page turning Thick board book pages are ideal early pincer practice — big enough to grip, sturdy enough not to tear, and the activity is naturally repeated many times per session.
Fine Motor Craft Ideas by Stage
Palmar stage craft: Big-brush “painting” Hand your baby a large, chunky toddler paintbrush (too big to be a choking hazard) dipped in a small amount of baby-safe paint, and let them make marks on paper with a whole-hand grip — no precision expected or needed.
Raking stage craft: Sticker-and-tear collage Combine paper tearing (raking practice) with placing large stickers (early raking-to-pincer transition) onto a page for a simple collage that documents the actual developmental stage your baby is in.
Pincer stage craft: Pom-pom-free “dot” painting Instead of pom-poms (a choking hazard), use a large dot-marker or bingo dauber, which requires a similar grasp to what a true pincer-stage baby is developing, with zero small parts involved.
What to Skip Until Your Baby Has a Reliable Pincer Grasp
- Small beads or buttons, even “for stringing”
- Pom-poms, regardless of size (they compress and can still block an airway)
- Dried pasta, rice, or beans in loose form
- Tongs or tweezers paired with small objects
- Small magnetic tiles or blocks under the choking-hazard size
Most fine motor content built around these materials is genuinely appropriate — just for toddlers who’ve moved past the mouthing stage, not for babies still developing their first pincer grasp.
Tips for Fine Motor Play Success
- Follow your baby’s actual grasp stage, not their age in months alone — development varies, and using the wrong-stage activity is more about frustration (too hard) or lost interest (too easy) than any strict calendar milestone.
- Offer the same activity across several sessions — fine motor skill-building comes from repetition, not novelty, so don’t feel pressure to introduce something new every day.
- Supervise every activity involving anything close to the choking-hazard size, even ones marketed as “baby-safe.”
- Let frustration happen briefly before stepping in — a little struggle with an almost-graspable object is part of how the skill develops; jumping in too fast removes the practice rep.
- Rotate materials, not just toys — different textures (smooth, ridged, soft, firm) at the same grasp stage give more varied practice than many toys of the same texture.
The Bottom Line
Fine motor development happens in a specific order — palmar, then raking, then pincer — and the activity that actually helps depends on matching that stage, not picking whatever looks cutest in a toddler craft round-up. Stick to the choking-hazard size rule regardless of how “educational” a small-parts activity looks, and let your baby’s actual grasp ability, not their age in months, guide which activities to try next.
Continue exploring: browse the full Baby Activities hub.
Frequently Asked
Common Questions