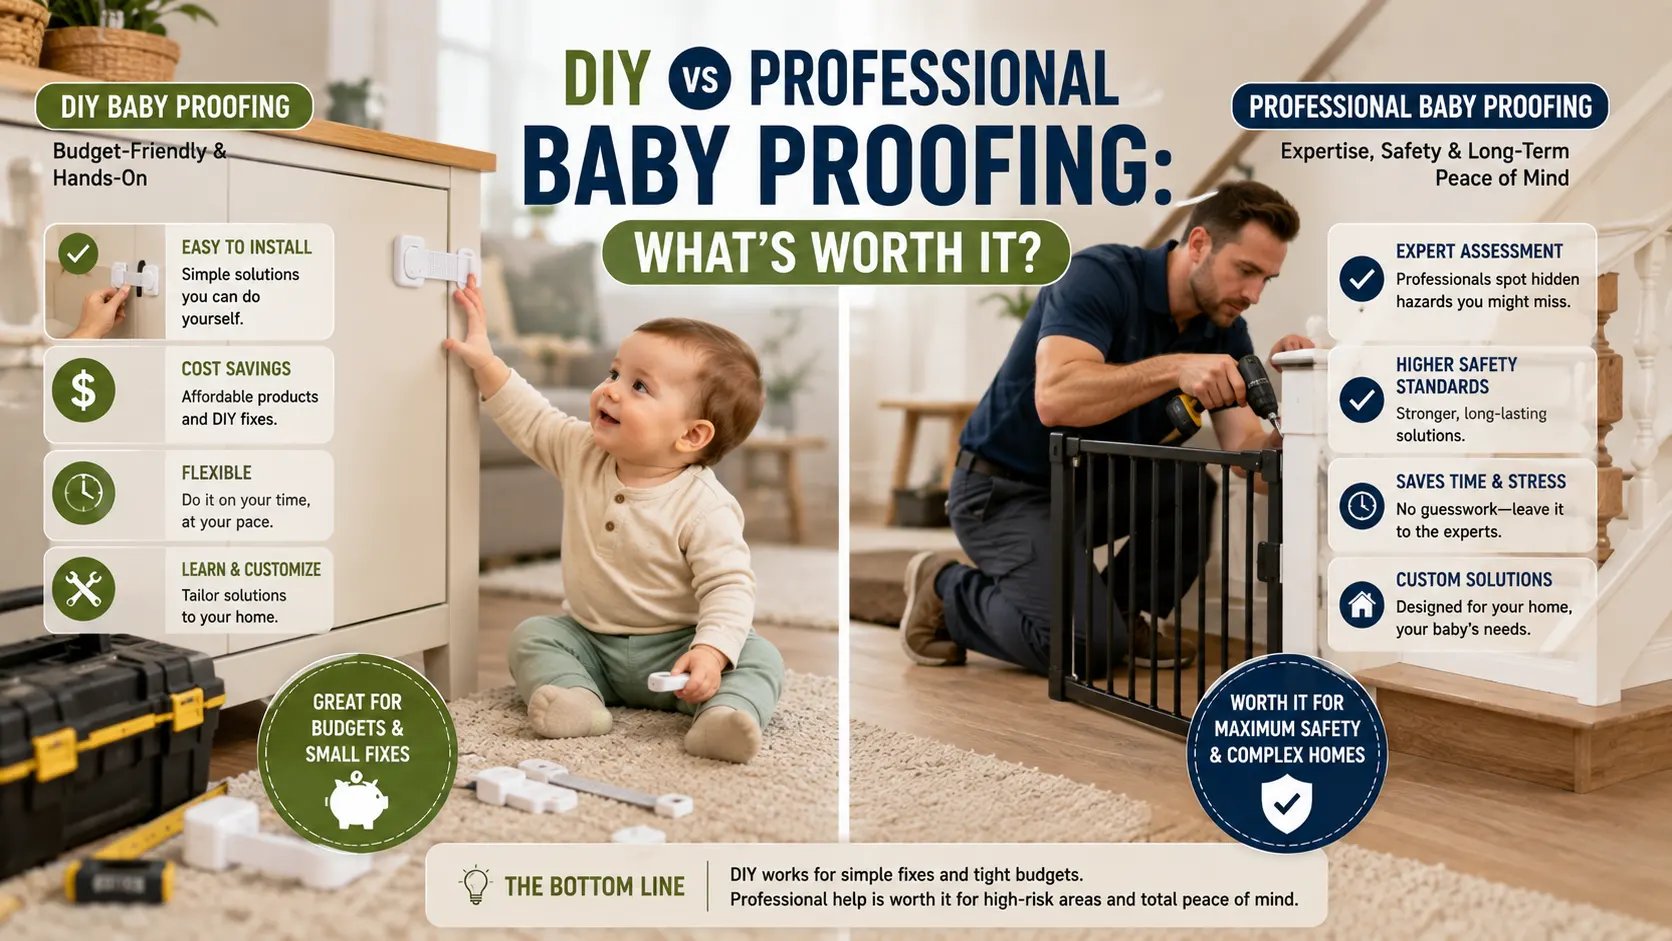

The gap between DIY and professional baby proofing isn’t really a gap in price. It’s a gap in what you’re capable of noticing in your own house. Most parents can install a cabinet lock correctly. Far fewer can look at a media console and know, before it fails, that the laminate finish is too low-porosity for an adhesive strap lock to hold.
That’s the real question behind “DIY vs. professional”: not who can screw in a bracket, but who can catch the hazard you don’t know is a hazard. Here’s how to figure out which situation you’re actually in.
The Real Cost Difference
DIY baby proofing typically runs $100–$500 in supplies — gates, cabinet locks, outlet covers, furniture anchors, corner guards — for a full pass through an average home. Professional services range much wider, from around $200–$600 for a smaller home or apartment up to $1,500–$2,500 for a large, multi-story house with a full assessment and installation included.
The spread inside “professional” pricing isn’t random. It usually reflects three things: how many rooms and floors need coverage, whether the job includes a full safety consultation and hazard walkthrough (versus just installing a list of products you already picked), and how much hardware-mounted work is involved — hardware anchoring and stair gates take real time and tools, while adhesive products go on in minutes.
What DIY Genuinely Handles Well
Most standard baby proofing is well within reach of an average afternoon, and there’s no real safety upside to paying someone else to do it:
- Plug-in outlet covers and outlet plates
- Cabinet and drawer locks on standard cabinetry
- Corner and edge guards on furniture
- Door pinch guards and doorknob covers
- Tying up or clipping window blind cords
- Basic pressure-mounted gates in a standard doorway or hallway (not at the top of stairs)
- Locking away cleaning supplies and medications
If your home is a fairly standard layout — normal cabinetry, drywall, straightforward stairs — a careful DIY pass covers the large majority of real risk for a fraction of the cost.
Where DIY Quietly Fails
The failure mode with DIY baby proofing is rarely “I forgot to do it.” It’s “I did it, and it didn’t actually work the way I thought it did.” A few patterns show up repeatedly:
Adhesive locks on the wrong surface. Adhesive-strap cabinet and appliance locks depend entirely on the surface they’re stuck to. Low-porosity laminate, certain painted finishes, and some stainless steel simply won’t hold an adhesive bond long-term — and a mobile toddler applying repeated pressure will find that weak point faster than you’d expect. A professional walkthrough catches this by testing the surface before installing; DIY usually only finds out when the lock fails.
Furniture and TV anchoring done “well enough.” Anchoring a dresser or bookshelf to drywall with the wrong anchor type holds up fine under a light tug test but can fail under the sustained, climbing weight of a toddler using the furniture as a ladder. This category of hazard is one of the most serious in the home — unsecured furniture and TVs are consistently linked to preventable child injury deaths — and it’s also one of the easiest to get “technically done” but not actually secure.
Stairs with irregular geometry. Pressure-mounted gates work well on standard doorways but are a poor or unsafe fit for the top of a staircase, angled walls, banister-to-wall openings, or anything non-square. A hardware-mounted gate rated for the top of stairs is the correct call here, and getting the mounting wrong on stairs specifically is a high-consequence mistake — stair falls send tens of thousands of young children to the ER every year.
Hazards you don’t know to look for. A generic checklist tells you to cover outlets and lock cabinets. It doesn’t tell you that the specific fireplace hearth in your specific living room needs a hearth-specific edge guard, or that your particular window style needs a cordless retrofit rather than just clipping the existing cord, or that your walk-in pantry door swings in a way that traps small fingers. This is the category where paying for a trained eye has the clearest payoff — not for the installation itself, but for the noticing.
When a Professional Is Genuinely Worth It
- Complex or older homes — split-level layouts, unusual staircases, older construction with plaster walls that don’t take standard anchors the same way drywall does
- You’re anchoring anything to a rental’s walls and want it done in a way that’s secure now and repairable at move-out
- You’ve had a near-miss already — a lock that failed, a gate that came loose — and you don’t trust your own installation to hold
- You’re short on time, particularly in the run-up to a due date or a move, when a single-visit professional pass covers ground you don’t have hours to spend on
- You want a second set of eyes, full stop — even parents who plan to do all the installation themselves sometimes hire a consultation-only walkthrough (cheaper than full installation) just to get the hazard list, then buy and install everything themselves
The Hybrid Approach Most Families Actually Use
You don’t have to pick one lane. A common and cost-effective middle path:
- DIY the standard stuff first — outlets, cabinet locks, cord management, corner guards. This is most of the total task and doesn’t need expertise.
- Pay for a consultation-only walkthrough, if your provider offers one, to get a written hazard list from someone trained to spot what you’d miss — often a fraction of full-service pricing.
- Hire installation selectively for the few high-stakes items: stair gates, furniture/TV anchoring, and anything involving your home’s specific quirks (fireplace, unusual stairs, old walls).
- Recheck everything every few months. Gates loosen, adhesive locks degrade, and a growing toddler outgrows what worked six months ago. This step matters regardless of whether the initial install was DIY or professional.
Continue exploring: browse the full Baby Safety hub.
Frequently Asked
Common Questions