
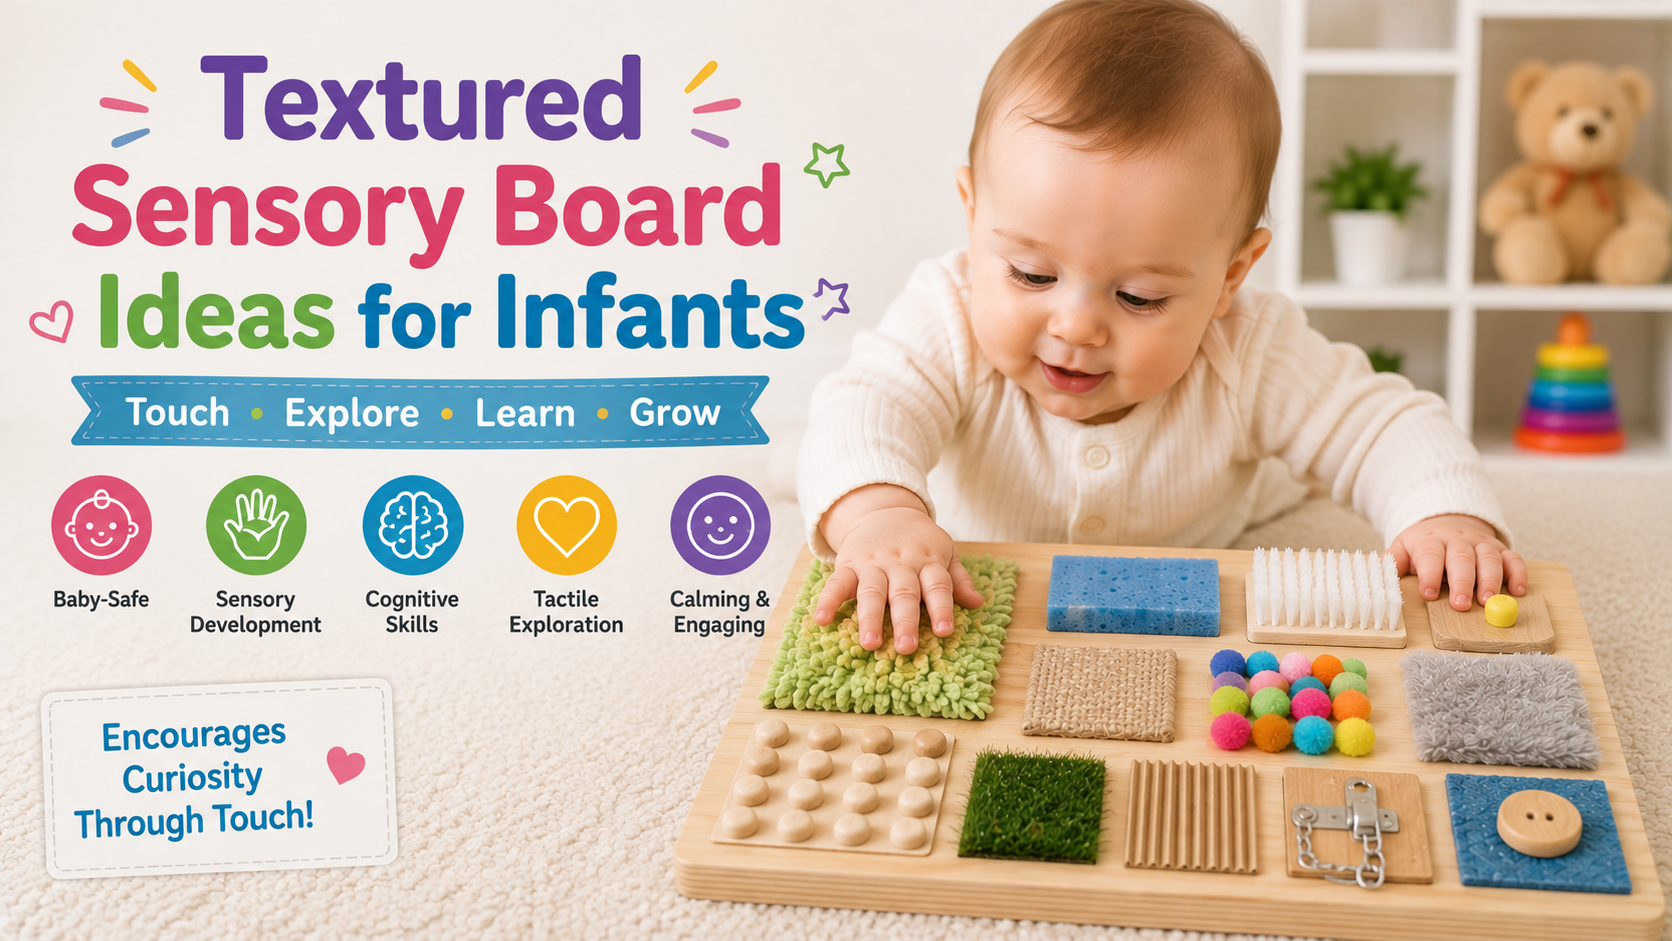

A textured sensory board (sometimes called a busy board or touch board) is a flat panel covered in different materials — fabric, bristles, foam, wood — that a baby explores with their hands. Unlike frozen sensory play, a texture board is reusable, mess-free, and can be built once and rotated for months. This guide covers what actually works, which materials are safe at which age, and how to build one without buying a kit.
Why Textured Sensory Boards Matter for Infant Development
- Tactile discrimination — a baby’s hands learn to tell rough from smooth, soft from hard, before they can name any of it.
- Grip and pincer development — reaching for a bumpy or fringed texture builds the same hand muscles used later for self-feeding and writing.
- Focus and attention span — a well-made board gives a baby something to return to for a full independent-play session rather than switching toys every 30 seconds.
- Cause and effect — textures that move (a zipper, a ribbon, a squeaky patch) teach babies that their hands can change the world around them.
- Early “safe exploration” — a board condenses new-and-different textures into a single object, so parents don’t have to hand a baby random household items to satisfy curiosity.
Safety Rules Before You Build One
This matters more for texture boards than almost any other sensory toy, because boards are usually handmade and glued.
- Every attached piece must survive a hard tug test. Pull on each item as hard as your baby might before you consider the board finished — anything that comes loose is a choking hazard.
- Use non-toxic, child-safe glue (hot glue guns are common but the glue must fully cure and every edge should be checked; a glue gun designed for kids’ crafts or a strong fabric/wood glue is safer than loose staples or tacks).
- No small, detachable parts — buttons, beads, and bells must be sewn on with multiple stitches or avoided entirely for babies under 12 months who still mouth objects.
- Round or sand every edge if you’re using a wood base, and skip screws, nails, or anything sharp.
- Check for loose threads or fraying fabric regularly — infants explore with their mouths, and boards get worn with use.
- Avoid choking-hazard textures for younger infants: pom-poms, small pieces of velcro that can be picked at and pulled off, or anything under 1.5 inches / 4 cm.
- Supervise all use. A texture board is not a crib toy or something to leave with an unsupervised baby, regardless of how secure it looks.
- Wash-test fabric pieces before attaching, and choose materials that can be wiped down, since drool and spit-up are inevitable.
What Age Should Start With a Sensory Board?
Most babies can engage with a simple textured board from around 4–5 months, once they can bring their hands together and reach with intent — even before sitting independently, while lying on their tummy or propped up. Boards with more complex, movable parts (zippers, buckles, laces) are better suited to 9–12 months and up, when fine motor skills and supervision tolerance are both stronger.
14 Textured Sensory Board Ideas by Category
Soft & Simple (Best from 4–6 Months)
1. Fabric swatch board Glue or sew 6–8 different fabric squares (faux fur, corduroy, silk, burlap, terry cloth, felt) onto a board in a grid. This is the easiest first board and needs no fasteners a baby could pull loose.
2. Bristle strip Attach a short strip of a soft hairbrush or vegetable scrub brush bristles for a “prickly but safe” sensation babies often find fascinating.
3. Bubble wrap panel Cover a small section with bubble wrap under a layer of clear contact paper (so it can’t be popped and swallowed) for a bumpy, springy texture.
4. Sponge section Attach a clean kitchen sponge, both the soft and the scrubby sides, for two textures in one spot.
Interactive & Movable (Best from 9–12+ Months)
5. Ribbon and ric-rac strip Sew several ribbon lengths (satin, grosgrain, velvet) side by side, trimmed short enough that they can’t wrap around a finger tightly.
6. Zipper panel Sew a large zipper (from an old jacket) onto fabric so a baby can pull it open and closed — great for cause-and-effect learning and finger strength.
7. Buckle and strap section Attach a large plastic buckle (like from an old backpack) for babies close to a year old who are ready for a small “problem to solve.”
8. Velcro flap A single securely-sewn velcro flap that opens to reveal a texture underneath (like fur or foil) adds a surprise element — best supervised closely since velcro can be picked at.
9. Shoelace lacing board A thick cord laced through large, reinforced holes lets an older infant pull and tug — skip for babies who still mouth cords.
Sound & Sight Combined With Touch
10. Crinkle fabric patch Sew a layer of crinkle material (the kind used in baby books) between two fabric layers so it makes noise when pressed.
11. Mirror square A small, shatterproof baby-safe acrylic mirror glued flush into the board (no exposed edges) combines visual and tactile interest.
12. Textured foam letters or shapes Glue large foam shapes (bigger than a choking hazard test tube, roughly 1.75 inches / 4.5 cm) for color, shape, and a slightly springy texture.
Natural Materials
13. Wood grain panel Sand a raw wood square smooth and leave it unfinished (or use food-safe oil) next to a painted or varnished piece so baby feels the difference between raw and finished wood.
14. Cork or rope section A cork tile or a short length of thick, tightly wound rope glued flat gives a firm, grainy texture that’s different from anything fabric-based.
How to Build a Sensory Board: Step-by-Step
- Choose a base — a scrap of plywood, a foam board, or even sturdy cardboard for a first attempt. Sand any wood edges smooth.
- Plan your layout — sketch a rough grid so textures don’t overlap and there’s a logical “path” for baby’s hand to explore.
- Test every material for washability and durability before attaching anything.
- Attach the flattest, safest textures first (fabric, foam) and save movable elements (zippers, buckles) for last.
- Do the tug test on every piece.
- Let glue fully cure for the time stated on the product — don’t rush this step.
- Do a final edge check — nothing sharp, nothing loose, nothing small enough to be a choking hazard.
- Introduce it supervised, and watch which textures your baby returns to most, so future boards can lean into what they enjoy.
Tips for Getting the Most Out of a Sensory Board
- Rotate boards every few weeks rather than building one giant board — a smaller board that changes stays novel longer than one static large one.
- Narrate textures as your baby touches them — “soft,” “bumpy,” “scratchy” — this builds vocabulary alongside the sensory experience.
- Position the board within reach during tummy time to add motivation for babies who resist tummy time.
- Re-check the board weekly for wear, especially glued or sewn pieces, since daily handling loosens things faster than you’d expect.
- Let baby lead — some babies love rough textures and avoid soft ones, or vice versa; there’s no “correct” order to explore a board.
Frequently Asked Questions
What age can babies use a sensory board? Most babies can start with a simple, flat, fabric-only board around 4–5 months. Boards with movable parts like zippers or buckles are safer from around 9–12 months, once fine motor control and supervision habits are more established.
Are sensory boards a choking hazard? They can be if small or loosely attached items are used. A board is safe when every piece passes a firm tug test, has no detachable small parts, and is regularly inspected for wear.
Can I buy a sensory board instead of making one? Yes — pre-made boards are widely available and go through standardized safety testing, which can be a good option if you don’t want to build and safety-check one yourself. A DIY board simply gives more control over cost and customization.
How often should I rotate the textures? Every 2–4 weeks is a good starting point — enough time for a baby to explore fully, but often enough to keep the board interesting.
What materials should I avoid entirely? Avoid small buttons, beads, bells, loose sequins, thin ribbon or cord that could wrap around a finger, and any glued item that doesn’t pass a hard tug test.
The Bottom Line
A textured sensory board turns ordinary household materials — fabric scraps, a sponge, a bit of ribbon — into a reusable tool for tactile learning, focus, and fine motor development. Start simple with a flat fabric board for younger infants, add movable elements as your baby’s motor skills grow, and treat the safety checklist as non-negotiable every time you build or update one.
Continue exploring: browse the full Baby Activities hub.
Frequently Asked
Common Questions