
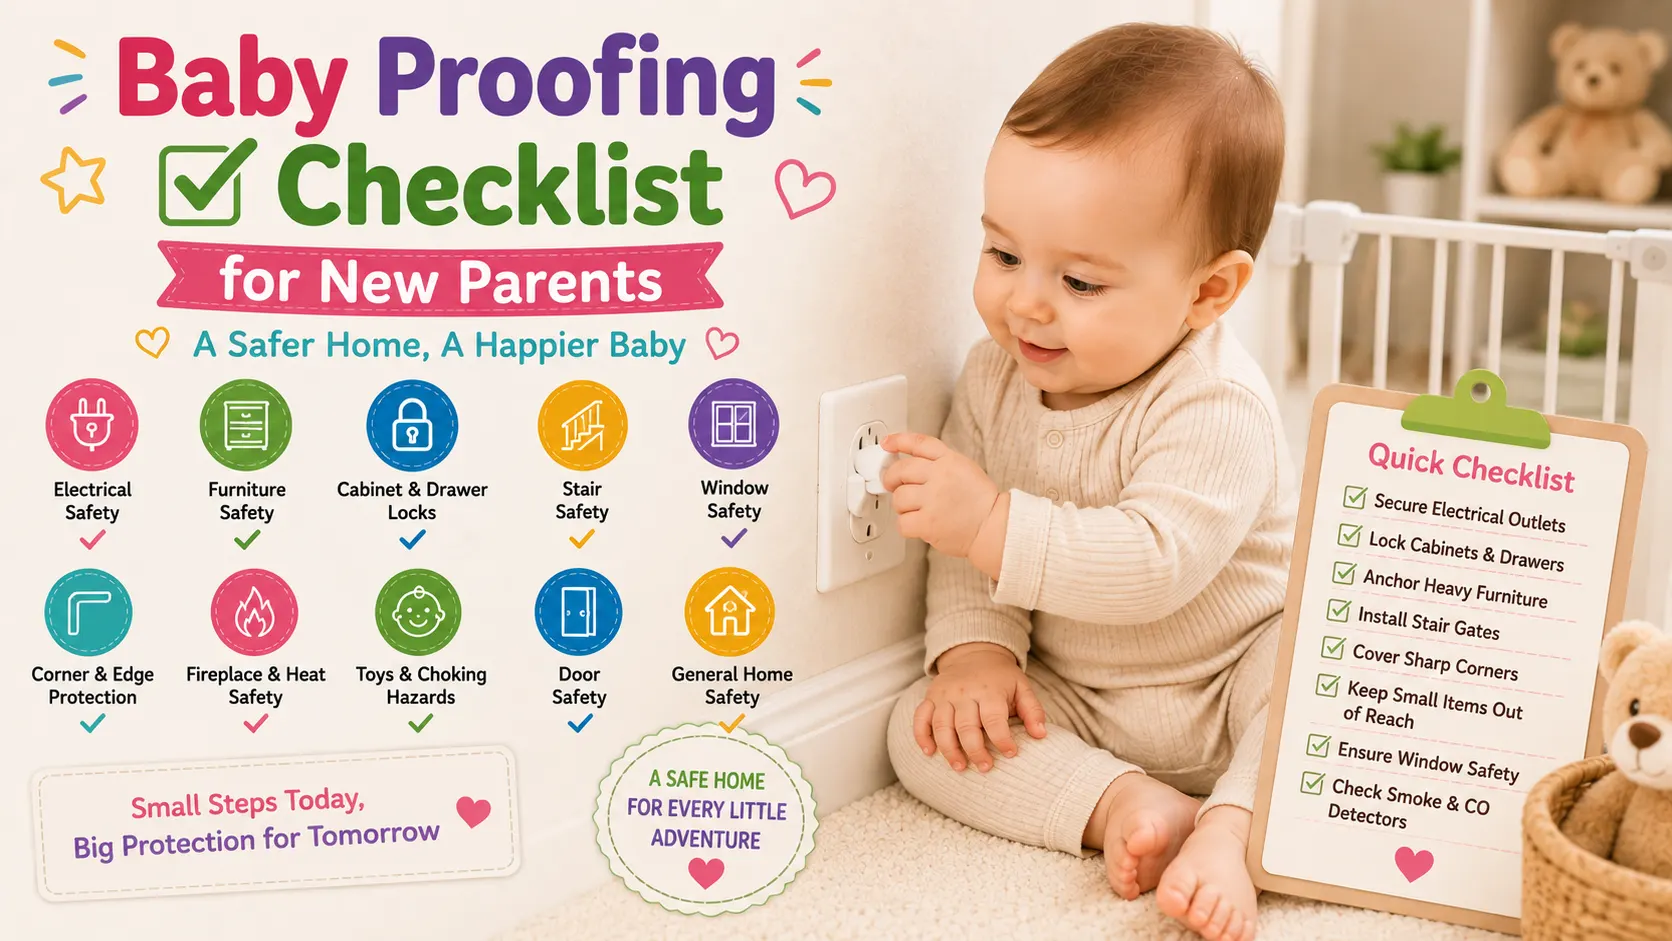

Most baby proofing checklists list every hazard in every room at once, which makes the task feel bigger than it needs to be on day one. Babies don’t gain access to every hazard simultaneously — a newborn can’t reach a low cabinet, and a crawler can’t yet climb onto a countertop. This guide breaks the checklist into what to fix immediately, what to fix as each new mobility skill appears, and what to check room by room, plus a few common mistakes and overrated products most checklists don’t mention.
When to Start Baby Proofing
There’s no single correct start date, but mobility milestones are a more useful trigger than a calendar age:
- Before baby comes home: the highest-risk, hardest-to-undo fixes — furniture anchoring, smoke and carbon monoxide detectors, stair gates if you have stairs.
- Around rolling (4–6 months): anything reachable from a fixed spot on the floor — cords, small objects, low shelves near where baby spends time.
- Around crawling (6–9 months): everything at floor level throughout the home, not just the rooms baby usually plays in.
- Around pulling to stand and cruising (9–12 months): everything reachable from standing height while holding furniture — tablecloths, low drawer contents, anything on a low shelf edge.
- Around walking and climbing (12+ months): countertops, chairs used as climbing aids, anything a determined toddler can reach by stacking objects.
Re-baby-proof at each stage rather than trying to fix everything at once before baby is even born — a mobility-triggered approach means you’re not maintaining maximum-security-level restrictions for a newborn who can’t move yet.
Do First: Highest-Risk Fixes (Before Any Mobility)
- Install working smoke detectors and carbon monoxide detectors near sleeping areas
- Anchor all furniture taller than it is wide (bookshelves, dressers, TV stands) to the wall
- Set water heater temperature to 120°F / 49°C or below to prevent scald injuries
- Install a stair gate at the top and bottom of any staircase if you have one
- Store all medications, vitamins, and supplements out of reach and in original containers
- Save the Poison Control number in your phone and post it somewhere visible
Room-by-Room Checklist
Living Room
- Anchor bookshelves, media units, and any furniture baby could pull over
- Add corner guards to sharp furniture edges (coffee tables, hearths, low shelving)
- Secure or conceal cords from lamps, chargers, and electronics
- Cover accessible outlets with tamper-resistant plates or sliding covers, not loose plug covers (see the common mistakes section below for why)
- Remove small decorative objects, coins, and remotes with removable batteries from low surfaces
- Check houseplants for toxicity and move any toxic ones out of reach
Kitchen
- Install cabinet and drawer latches on anything containing cleaning products, sharp tools, or small items
- Store cleaning supplies and chemicals in a high cabinet, not just a latched low one, if possible
- Use back burners and turn pot handles inward while cooking
- Keep a stove knob cover or lock in place if knobs are at a reachable height
- Store plastic bags and small food items (nuts, hard candy) out of reach
- Check the trash can has a secure, foot-pedal or latching lid
Bathroom
- Install a toilet lid lock
- Store medications, razors, and cosmetics in a latched cabinet, not just a high shelf a climbing toddler can eventually reach
- Use a non-slip mat in the tub and check bath water temperature every time, not just the water heater setting
- Unplug and store hair tools (straighteners, dryers) out of reach and cord-free between uses
- Keep the bathroom door closed or latched when not in use
Nursery and Bedrooms
- Secure blind and curtain cords out of reach, or use cordless window coverings
- Keep the crib free of pillows, loose blankets, and crib bumpers per current safe-sleep guidance
- Anchor the dresser and changing table to the wall
- Keep a hand on baby at all times during changing table use, regardless of straps
- Check for gaps in crib slats or hardware that could catch fingers or clothing
Stairs and Hallways
- Install gates at both the top and bottom of stairs, hardware-mounted at the top (not pressure-mounted, which can give way)
- Check handrail gaps aren’t wide enough for a baby’s head to fit through
- Keep hallways clear of trip hazards like loose rugs or cords
Garage, Laundry Room, and Storage Areas
- Store all chemicals, detergents, and tools on high, latched shelving, not just out of a toddler’s current reach
- Keep the washer and dryer doors closed, and consider a child lock if front-loading
- Store any small hardware (screws, batteries, tools) sealed and out of reach
- Lock or block access to the garage itself if it contains vehicles, chemicals, or power tools
Outdoor Areas
- Secure pool access with a fence and self-latching gate, independent of house door locks
- Check for toxic plants in the yard within baby’s reach once mobile
- Store yard chemicals, fertilizer, and tools in a locked shed or garage
- Check playground or play equipment for pinch points, sharp edges, and secure anchoring
Other People’s Homes and Care Settings
- Do a quick floor-level scan at grandparents’ houses or frequently-visited homes, which often aren’t baby-proofed the same way
- Check for reachable medications, especially at homes with older residents who may keep pills in easy-open containers
- Bring your own outlet covers or gates for frequent long stays if the home doesn’t have any
Common Baby Proofing Mistakes
- Using loose, removable outlet plug covers. These small plastic covers are themselves a choking hazard once a baby learns to pull them out — tamper-resistant outlet plates or sliding covers built into the outlet are the safer choice.
- Baby proofing once and not revisiting it. A six-month-old’s reach and skills are completely different from a fourteen-month-old’s — plan a re-check every few months, and definitely after any new mobility milestone.
- Over-relying on products instead of supervision. Locks, gates, and covers buy you reaction time, not a replacement for active supervision — a determined toddler eventually defeats most single safety devices.
- Skipping the garage, laundry room, and outdoor spaces. Many parents thoroughly baby-proof the living room and nursery but leave chemical-heavy or hazard-dense areas like the garage or laundry room unaddressed.
- Baby proofing only from adult eye height. Get down to floor level (or use a flashlight/phone camera at knee height) in every room — hazards visible from a crawling baby’s perspective are easy to miss standing up.
- Forgetting to re-check after furniture changes. A new bookshelf, a rearranged room, or a piece of furniture moved for cleaning can undo an anchor point or reopen a hazard that was previously addressed.
Baby Proofing Products That Are Often Overrated
Not every product marketed for baby proofing delivers meaningful safety value, and a few are worth skipping or downgrading:
- Corner guards on furniture baby can’t yet reach. Useful once baby is mobile and at the right height, but not an urgent newborn-stage purchase.
- Full-coverage outlet plates on outlets behind furniture. If a couch or dresser permanently blocks an outlet, it may not need active covering at all — prioritize accessible outlets first.
- Loose plug-in outlet covers, as noted above — these solve a mess-free-shelf-appeal problem, not a real safety one, since they introduce their own choking risk.
- Baby knee pads for crawling. Marketed heavily but not something most pediatric safety guidance considers necessary; a baby’s knees adapt to crawling without them for most home flooring.
- Elaborate multi-room monitoring systems as a substitute for supervision. A monitor is a helpful tool, not a stand-in for checking on a mobile baby directly at regular intervals.
Re-Check Schedule by Milestone
- Rolling starts → re-scan floor-level reach in the rooms baby spends time in.
- Crawling starts → expand the floor-level scan to every room in the home, not just the usual ones.
- Pulling to stand / cruising starts → re-scan everything reachable from standing height while holding furniture.
- Walking starts → re-scan countertop-adjacent areas and anything reachable by climbing a chair or low furniture.
- Every 3 months regardless of milestone → a general walkthrough, since skills develop gradually between obvious milestones too.
The Bottom Line
Baby proofing works best as a staged process tied to your baby’s actual mobility, not a single overwhelming checklist to complete before they’re even born. Fix the highest-risk items first, expand room by room as new skills appear, watch for a few commonly overlooked mistakes like loose outlet covers and un-proofed garages, and treat every safety product as a supplement to supervision rather than a replacement for it.
Continue exploring: browse the full Baby Safety hub.
Frequently Asked
Common Questions