
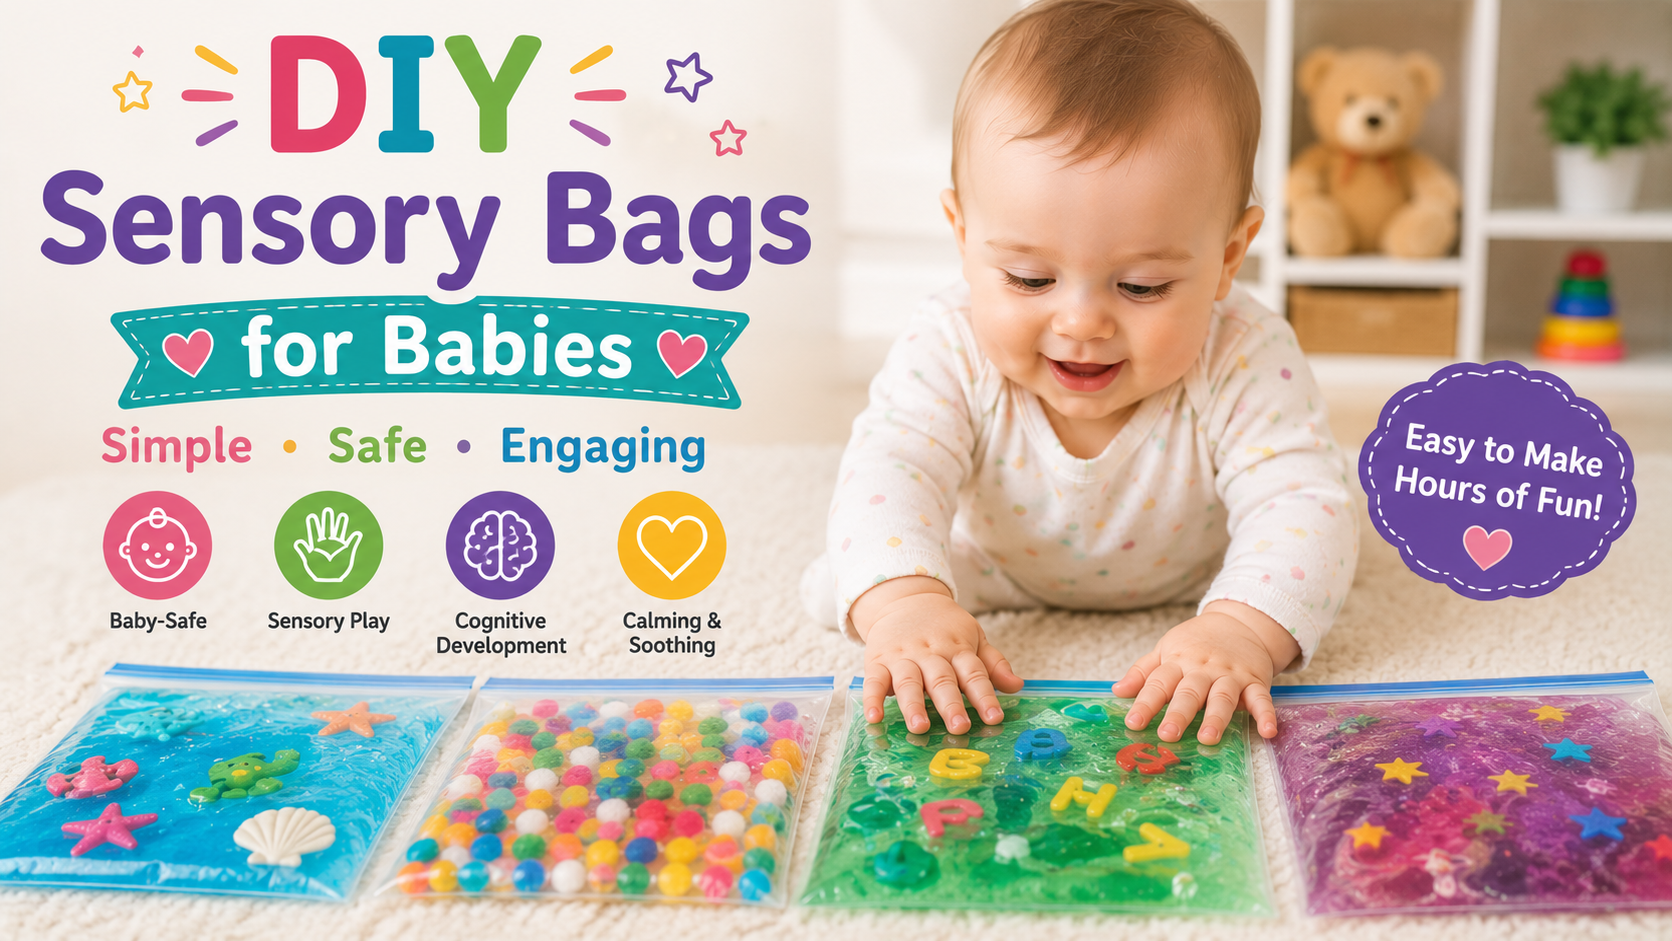

The idea behind a sensory bag is simple — seal something interesting to touch inside a bag so a baby can explore it with zero risk of putting it in their mouth. The execution is where most parents run into trouble: bags that leak, tear from a poking fingernail, or get chewed open within a day. This guide focuses on the sealing technique that actually prevents that, plus filler ideas and mounting options once your bag is secure.
Quick answer: The most leak-proof sensory bag uses two bags (one inside the other), with all excess air removed and the zip-seal reinforced with several layers of duct or gorilla tape — not just pressed closed.
Why Sensory Bags Leak (and How to Actually Stop It)
Most leaks happen for one of three reasons:
- Air left inside the bag puts pressure on the seams, which stresses the seal over time
- A single layer of plastic tears easily, especially from a baby’s fingernail or a tooth during a chewing phase
- The zip-seal alone isn’t reinforced — the zip closure is a starting point, not a complete seal
The fix for all three is the same: remove the air, double-bag it, and reinforce with real tape — not just the bag’s built-in seal.
The Double-Bag Sealing Method, Step by Step
What you need:
- Two heavy-duty freezer bags (quart or gallon size, one to go inside the other)
- Your chosen filler
- Duct tape or gorilla tape (regular packing tape is not strong enough for liquid fillers)
Steps:
- Add your filler to the first bag — don’t overfill; leave enough room for the contents to move around
- Squeeze out as much excess air as possible before sealing the zip closure
- Seal the zip closure, then reinforce it with 2–3 layers of tape along the entire top edge
- Place this sealed bag inside a second bag
- Squeeze out excess air from the outer bag as well, seal its zip closure, and reinforce with tape the same way
- Optional: for extra durability, especially with liquid fillers, run tape along all four edges of the outer bag, folding it over the edge to reinforce the seams themselves, not just the top
Why this works: The zip closure on either bag is rarely the weak point — the real risk is a torn seam or corner, which a second layer of plastic and reinforced edges protects against directly.
12 Sensory Bag Filler Combinations
| Filler | Texture | Best Paired With |
|---|---|---|
| Hair gel | Squishy, smooth | A few drops of food coloring |
| Water + oil | Flowing, “lava lamp” effect | Food coloring (oil and water separate naturally) |
| Shaving cream | Fluffy, light | A drop of food coloring for marbled effect |
| Water beads | Bouncy, textured | Nothing — texture alone is the appeal |
| Hand sanitizer gel + glitter glue | Smooth, sparkly | Small foam shapes |
| Cooked, cooled pasta | Slippery, soft | A little water or oil |
| Pom-poms + hair gel | Soft with resistance | Two contrasting colors |
| Googly eyes + gel | Playful, visual | Bright gel color |
| Dry rice or beans (sealed, not loose) | Textured, shifting | Small plastic toys |
| Shredded paper or confetti + gel | Colorful, dynamic | Seasonal colors (fall leaves, snow) |
| Marbles + hair gel | Firm, rolling | Clear or lightly tinted gel |
| Bubble wrap pieces + gel | Extra texture layer | Any base gel color |
Avoid anything sharp, rigid, or small enough to become a true choking hazard if the bag were ever breached — soft, lightweight fillers hold up better over time and pose less risk.
Mounting Options: Floor, Window, Table, or Highchair
Once sealed, tape the bag down flat using painter’s tape or washi tape (gentler on surfaces than duct tape) so it can’t be picked up and shaken loose:
- Floor, for tummy time — tape all four corners down so a baby on their belly can press and explore without the bag sliding away
- Window — bright, colorful fillers (like oil and water) become especially engaging with natural light behind them
- High chair tray — useful for supervised seated exploration during a calm moment
- Low table or coffee table — good for a baby who’s pulling up to stand and wants to explore at that height
Avoid leaving tape on wood floors or furniture for more than a day, since some tapes can leave residue or affect the finish over time.
Safety Notes for Teething and Mouthing Babies
- Sensory bags are generally considered safe for babies from around 6 months old, once they can reach and grasp with intention
- Always supervise directly — a sealed bag reduces risk but doesn’t eliminate the need for supervision
- If your baby is actively teething, expect more determined chewing and biting at the bag — this is exactly when the double-bag method matters most
- Trim your baby’s fingernails before sensory bag play, since sharp nails are a common cause of small punctures
- Inspect the bag before every use, not just the first time — even a well-sealed bag should be checked for wear if it’s been played with regularly over several days
- If you ever notice a leak, stop the activity immediately, clean up the filler, and either re-seal or discard the bag rather than trying to “just tape over it” while your baby is still playing
Frequently Asked Questions
How do I stop my sensory bag from leaking? Use two bags (one inside the other), remove all excess air before sealing, and reinforce the zip closure with several layers of duct or gorilla tape rather than relying on the bag’s built-in seal alone.
What age can babies start playing with sensory bags? Most babies can start around 6 months old, once they’re able to reach for and grasp objects with some intention.
Is it safe if my baby chews on a sensory bag? A properly double-bagged and taped sensory bag is designed to withstand chewing and biting, which is common during teething — but always supervise directly and inspect the bag regularly for wear.
What fillers should I avoid in a sensory bag? Avoid sharp, rigid, or very small items — even sealed inside a bag, these pose more risk if a leak or tear does occur, compared to soft, lightweight fillers like pom-poms or gel.
How long does a sensory bag typically last? With proper sealing and regular inspection, a sensory bag can last weeks to months of repeated play, though liquid-based fillers like oil and water tend to be more leak-prone over time than gel-based ones.
Continue exploring: browse the full Baby Activities hub.
Frequently Asked
Common Questions