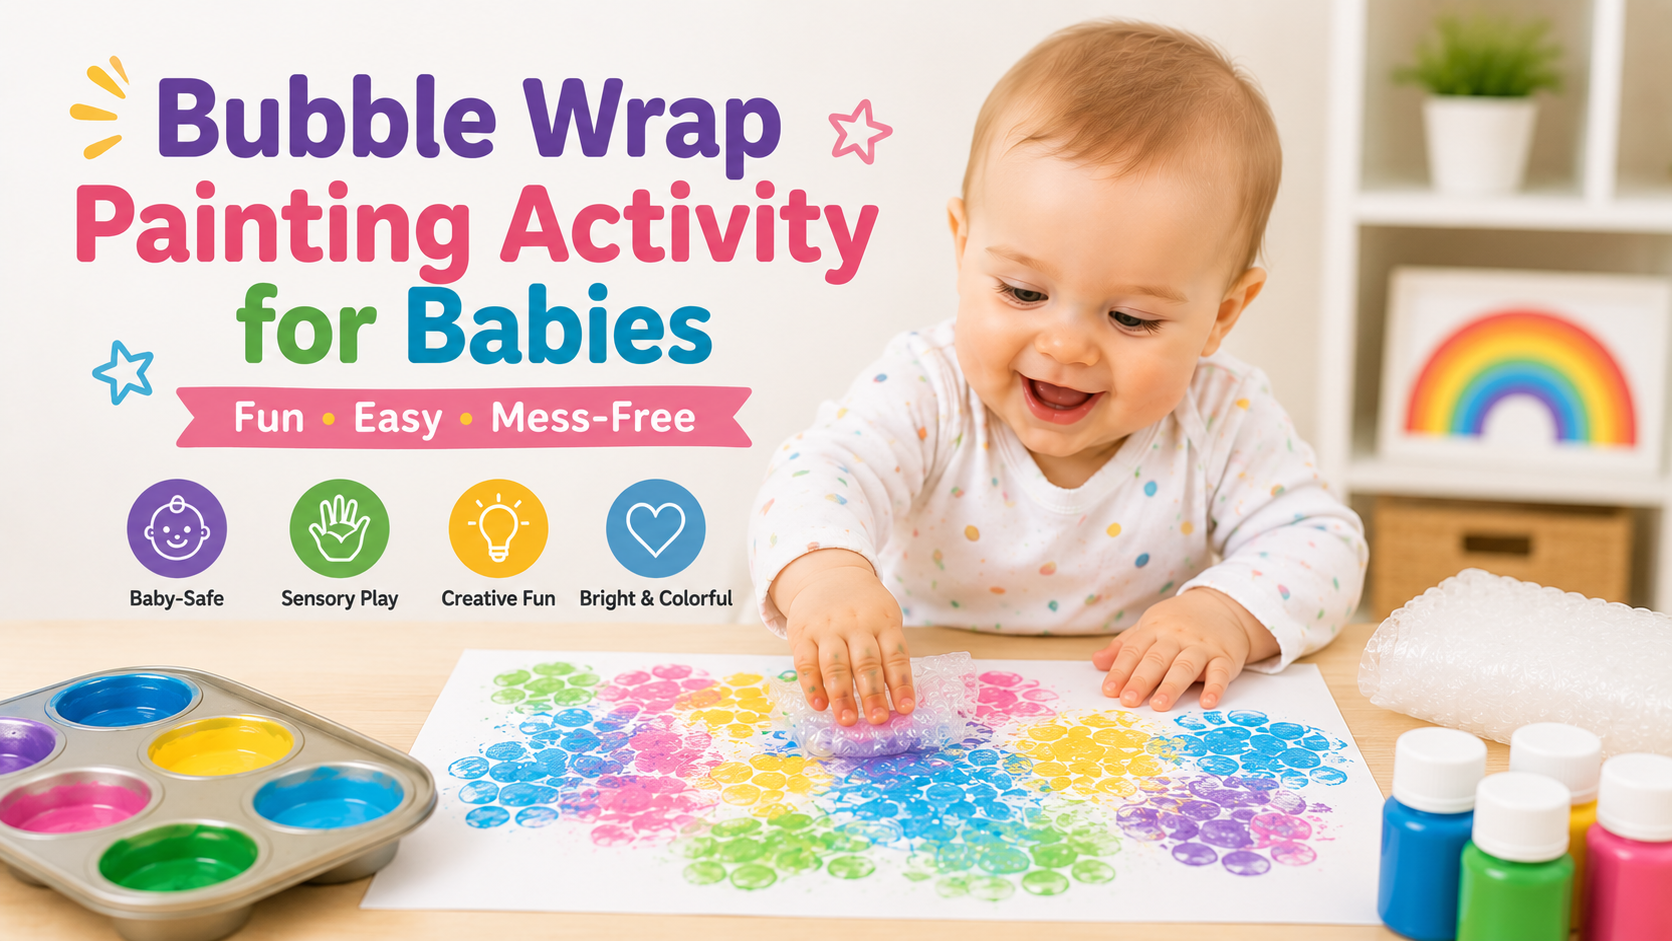

Bubble wrap painting works for babies for a simple reason: it combines painting, texture, and printmaking into one activity, and it can be set up completely mess-free if your baby still puts their hands in their mouth. This guide walks through two full setups — mess-free and traditional — plus age-based variations, so you can pick the version that fits your baby right now.
Quick answer: For a fully mess-free version, tape a sheet of bubble wrap over paint that’s already on paper, so your baby presses and squishes from the outside without ever touching the paint directly.
Two Ways to Do This Activity
- Mess-free method — paint is sealed under the bubble wrap, so your baby presses and squishes without direct contact. Best for babies who still mouth their hands frequently.
- Traditional method — your baby touches the paint directly on top of the bubble wrap, giving a stronger sensory experience but requiring supervision and taste-safe paint.
Both produce a printed piece of art at the end, so neither is a “lesser” version — they’re suited to different stages.
Method 1: Fully Mess-Free Setup
This is the better starting point for babies under 12 months or anyone still exploring with their mouth.
What you need:
- A sheet of paper
- Washable, baby-safe paint
- A sheet of bubble wrap slightly larger than the paper
- Tape
Steps:
- Place the paper on a hard, flat surface (a highchair tray or table)
- Splatter or dot a small amount of paint across the paper
- Lay the bubble wrap over the paper, bubble-side down so it touches the paint
- Tape all four edges down firmly so your baby can’t lift a corner and reach the paint
- Let your baby press, pat, and smoosh the bubble wrap with hands or feet
- When they’re done, slowly peel back the bubble wrap to reveal the printed pattern underneath
Bonus print: Before removing the bubble wrap completely, lay a second clean sheet of paper on top of the paint-covered bubble wrap and press gently — this gives you a second, different print from the same activity.
Method 2: Traditional (Direct Touch) Setup
This version gives a stronger tactile experience for babies who are past the heaviest mouthing stage — always use taste-safe or edible paint for this method regardless of age.
What you need:
- Bubble wrap taped directly to a table or tray
- Taste-safe or edible paint
- Paper
Steps:
- Tape a sheet of bubble wrap firmly to the table, bubble-side up
- Add small amounts of paint directly onto the bubble wrap
- Let your baby press, pat, and drag their hands or feet through the paint and texture
- When ready, place a clean sheet of paper over the painted bubble wrap and press gently
- Peel the paper back to reveal the print
Age-Based Variations
9–12 months: Stick with the mess-free method. Babies at this stage enjoy the sensory feedback of the bubbles popping under their hands or feet without needing to understand the “art” concept at all.
12–18 months: Try the traditional method with taste-safe paint, or introduce a bubble wrap “stomp” version — tape a large sheet to the floor and let your toddler walk or crawl across it in socks or bare feet, with paint added afterward for handprint-style stomping.
18–24 months: Introduce simple tools — a foam roller wrapped in bubble wrap and rolled through paint, or bubble wrap wrapped around a block for stamping — to add basic tool use to the sensory activity.
2+ years: A toy hammer works well for toddlers past the mouthing stage — paint goes under a taped-down sheet of bubble wrap, and light hammer taps spread the color and slowly reveal the print underneath as an added layer of engagement.
Troubleshooting Common Problems
The bubble wrap keeps sliding around. Use painter’s tape on all four edges, not just the corners — a fully secured sheet won’t shift no matter how enthusiastically your baby presses.
My baby just wants to pop the bubbles, not paint. That’s a completely normal and valid part of this activity at this age — the sensory experience of popping is just as developmentally valuable as the resulting print.
The print came out too faint. Use more paint than feels necessary — bubble wrap absorbs and spreads color more than a flat surface, so a generous amount produces a clearer print.
The paper tore when I lifted the bubble wrap. Tape the paper down as securely as the bubble wrap itself, and lift the bubble wrap slowly rather than pulling it off in one motion.
Safety Notes
- Use only certified non-toxic, washable paint, or taste-safe/edible paint for the traditional method
- Supervise directly — bubble wrap itself is not a choking hazard when taped down, but loose or torn pieces should be kept away from a baby who mouths objects
- If a bubble pops and releases a small amount of trapped air or residue, this isn’t a safety concern, but keep an eye on any small torn plastic fragments
- Never leave a baby unsupervised with a full, untaped roll of bubble wrap — the goal is a secured, flat sheet, not loose material
Continue exploring: browse the full Baby Activities hub.
Frequently Asked
Common Questions