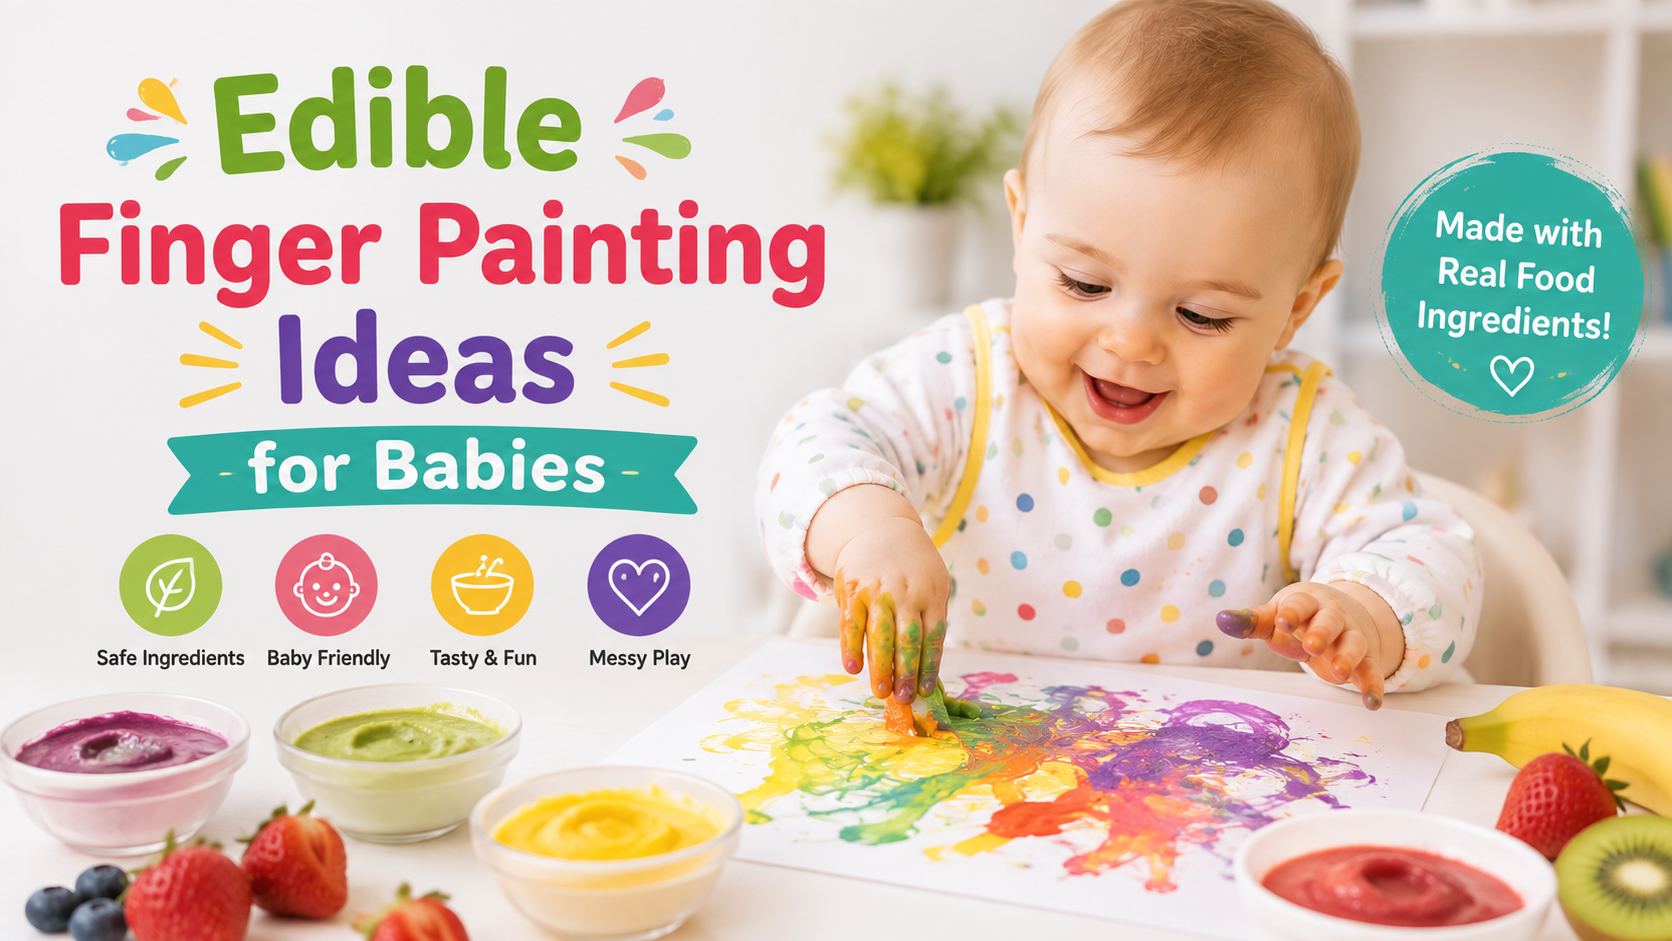

Edible finger painting solves the one problem every other “baby-safe” paint still has: what happens when your baby licks their fingers mid-craft. With edible paint, that’s not a concern — it’s the whole point. This guide gives you 5 real recipes, a natural color chart using fruits and vegetables instead of dye, and the allergy rule most tutorials skip entirely.
Quick answer: The fastest edible finger paint is plain yogurt mixed with a few drops of food coloring or a spoonful of baby food puree — ready in under 2 minutes, safe from 6 months old, and stores in the fridge for up to a week.
The Allergy Rule Most Guides Skip
Before using any food as paint, your baby should have already eaten it safely on its own, separate from the craft. A common guideline used by parent educators is to introduce each new food at least three separate times as an actual meal, watching for any reaction, before using it in messy play. This matters for finger paint specifically because:
- A baby covered in a new food, with it near their eyes, mouth, and skin, makes it harder to identify the source of a reaction if one occurs
- You want any allergic reaction to happen in a controlled mealtime setting, not during an activity with paint on their hands and face
Practical rule: Only use ingredients your baby has already eaten safely at least 3 times before turning them into paint.
Base Recipe: 2-Ingredient Yogurt Paint
This is the fastest, most reliable edible paint recipe, and works from 6 months old (once your baby has safely eaten yogurt before).
Ingredients:
- 4 tablespoons plain or Greek yogurt
- 3–5 drops food coloring (or natural alternative, see color chart below)
Steps:
- Divide yogurt into small containers or a muffin tin — one container per color
- Add 3–5 drops of food coloring to each container
- Stir until the color is evenly distributed
- Scoop directly onto a highchair tray or large sheet of paper
Notes: Greek yogurt holds its shape and color better than regular yogurt, but either works. If your baby has a dairy allergy, skip to the dairy-free options below.
4 More Edible Paint Recipes
Baby Puree Paint Mix 2 tablespoons Greek yogurt, 1 tablespoon of a baby food puree your baby already eats (carrot, prune, butternut squash, or berry puree all work well), and 1 teaspoon of baby rice cereal to thicken. This version uses zero food coloring or additives — the color comes entirely from the puree.
Cornstarch Paint (Dye-Free, Vegan-Friendly Base) Combine 1 cup cornstarch with 1 cup cold water in a saucepan, heat gently while stirring until thickened, then cool completely before adding natural coloring. This creates a smoother, glossier texture than yogurt-based paint.
Whipped Cream Paint Whip heavy cream until stiff peaks form, then divide and tint with natural coloring. This adds a fun 3D texture, though it’s messier and best for outdoor or easy-cleanup sessions.
Oat Flour Paste Paint Mix oat flour with a small amount of water until you reach a thick, paintable consistency, then tint naturally. This is a good option if your baby has a dairy or corn sensitivity, since oats are often introduced early and are widely tolerated.
Natural Color Chart (No Artificial Dye)
If you’d rather avoid artificial food coloring, here’s how to get each color naturally, using ingredients your baby has likely already tried:
| Color | Natural Ingredient | How to Use |
|---|---|---|
| Red / Pink | Beet puree or beet juice | Mix 2–3 tbsp into yogurt or cornstarch base |
| Orange | Carrot puree or sweet potato puree | Mix directly into yogurt |
| Yellow | Turmeric (small pinch) | Note: turmeric stains strongly — use sparingly |
| Green | Spinach puree or spinach water | Blend and strain spinach, mix liquid into yogurt |
| Purple / Blue | Blueberry puree | Mash and strain blueberries, mix into yogurt |
| Brown | Prune puree | Mix directly into yogurt |
Natural colors will look softer and less vivid than artificial dye — this is normal and doesn’t affect the play value for a baby.
Dairy-Free and Allergy-Friendly Options
- Dairy-free base: Substitute coconut milk yogurt or a plain oat-milk yogurt for regular yogurt in any recipe above
- Corn-free base: Use the oat flour paste instead of cornstarch paint
- No added sugar: Choose plain, unsweetened yogurt or purees rather than flavored/sweetened versions
- Always follow the same rule: only use an ingredient your baby has already safely eaten multiple times, regardless of which base you choose
Storage, Shelf Life, and Staining
- Shelf life: Yogurt-based paint keeps in an airtight container in the fridge for up to one week; re-stir before each use since it may separate
- Cornstarch paint: Keeps slightly longer than yogurt-based versions if refrigerated, but check for any sour smell before reuse
- Staining: Even natural colorants like beet and turmeric can temporarily stain skin, clothing, and grout — an old outfit or bare skin (with a wipeable surface underneath) works best
- Don’t try to preserve the artwork long-term — edible paint doesn’t fully dry the way traditional paint does, so photograph the finished piece rather than expecting to keep it
How to Set Up the Activity
- Dress your baby in just a diaper, or an old outfit you don’t mind staining
- Lay down a plastic tablecloth or place your baby in a highchair with a tray
- Portion each color into a small, stable container (a muffin tin works well for multiple colors)
- Offer a large sheet of paper or let your baby paint directly on the tray
- Keep a damp cloth nearby, and expect the session to last 5–15 minutes
Continue exploring: browse the full Baby Activities hub.
Frequently Asked
Common Questions